Most professional developers use some form of version control at their work but lack such a support system at home. One of the easiest ways to get up and running is by using TortoiseSVN for Windows. The best part about it is that it is both intuitive and FREE! Furthermore, if you have a separate pc that you want to use as a hosted source control server, you can use CollabNet Subversion Server (also a free application).
This tutorial is designed to show how to host a subversion server so it is available to other machines on your network. For my setup, I am running Windows 7 Ultimate edition x64 on my primary machine. For my secondary machine (named BuildServer), I am running Windows 7 Ultimate x32 in a hosted VMWare virtual machine. Both systems already have TortoiseSVN installed. TortoiseSVN is simply one of the best windows clients for subversion. You can download it from: http://tortoisesvn.tigris.org/
The next step is to go to the machine where you want to host your source control server. Download the CollabNet Subversion Server for Windows from the following link: http://www.open.collab.net/downloads/subversion/
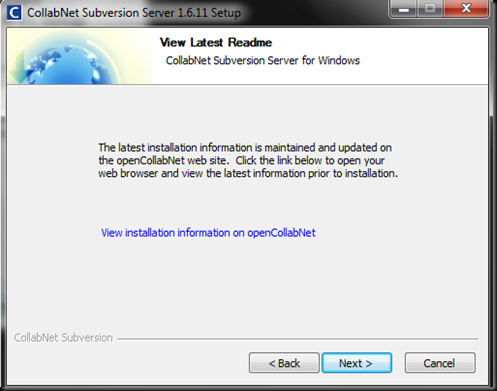
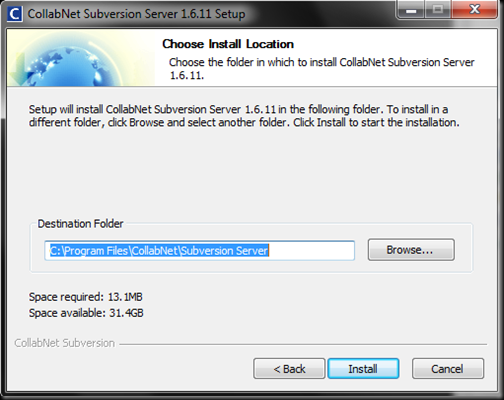
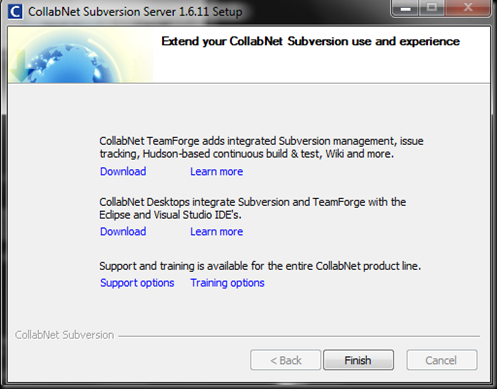
Once downloaded, begin your install process. The following set of screen shots show what you can expect (as you can see, I am currently using CollabNet Subversion Server 1.6.11).
There are a few options for how you want to host your source control server. Since I am on a Windows machine that has IIS running, I chose to run CollabNet Subversion Server as a windows service. The alternative would be to use the included Apache(MOD_DAV_SVN) server. It has it’s own advantages, but I was not patient enough to get the configuration properly set up side by side with IIS. I suspect, if I didn’t have IIS on the machine, the Apache install would have been just as easy.
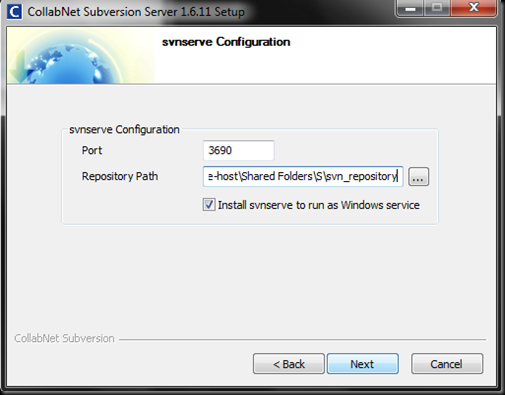
Here I chose the default port for communication but I modified the Repository Path to a shared network drive. By default, it prompts to put the repository in C:\svn_repository. I, however, wanted it on a network path so it can properly be backed up in the event that my virtual machine is turned off.
All of the other selections I chose were the defaults.
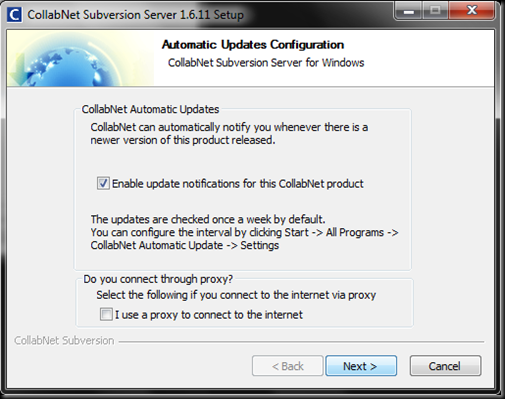
Once I initiated the install itself, it also prompted me to enable update notifications.
It ran the auto-update and then showed this last prompt to finish.
I don’t recall for certain, but I think the system then prompted me to reboot my machine. Whether prompted or not, I happened to reboot my machine. You can then verify it installed by opening the command prompt and running “svnadmin –version”.
I recommend running the command line in administrator mode so you can then perform the next step.
After confirming the software installed successfully, you need to create the service in windows. This can be done through the command prompt using the following command:
sc create binpath=”\C:\Program Files\CollabNet\Subversion Server\svnserve.exe\” –service –root C:\” displayname= “Subversion” depend= tcpip start= auto
NOTE: if this command fails to install or you see a different script response, double check that you are running the command prompt in Administrator mode (applicable to Vista & Windows 7 configurations) and that you have administrator rights on the machine.
Next, go to your system services. Find “CollabNet Subversion svnserve” and start the service. A reboot would have been just as effective because the service is set to start automatically. Alternatively, I could have started the service from command line.
For curiosity, I examined the properties of the service and the path to the executable was listed as follows:
"C:\Program Files\CollabNet\Subversion Server\svnserve.exe" --service -r "\\vmware-host\Shared Folders\S\svn_repository" --listen-port "3690"
Notice the switches specifying the repository path and the listen port. Depending on how secure you’ve got your machine set, you may need to explicitly open the port the local firewall and/or router.
First, verify that the service is working successfully by opening your TortoiseSVN client and entering “svn://localhost” as your repository url.
Once you have verified you can access the repository locally, try to access it remotely. Go to your other machine that is on the same network. Open the TortoiseSVN repository browser and browse either by using the machine’s name or direct IP address.
That’s it! You are now up and running with your very own hosted source control. I have even verified that after I configured the port pass through on my firewall, I can access my repository server from outside of my home network! Consider yourself warned though. Configuring the port pass through is a definitive security risk. I recommend before setting up your repository for remote access, you consider seeking help from your friendly network administrator….oh wait. If you are reading this, you probably are your own network admin! Just be careful and good luck!
Happy Coding!

